Raspberry Pi 4 Fan
Step-by-step guide to installing and configuring a fan for your Raspberry Pi 4 fan. Enjoy hassle-free cooling!
Introduction
- Briefly introduce the Raspberry Pi 4 and its cooling needs.
- Explain the importance of proper cooling for stable and reliable performance.
- Mention that you'll be guiding readers through the process of installing and configuring a fan.

Gather Your Materials
- List the components and tools required for the project.
- Raspberry Pi 4
- Cooling fan
- Heat sinks (optional)
- Screwdriver
- Thermal paste (if needed)
- MicroSD card with Raspbian (or another Raspberry Pi OS)
- Power supply
- Provide links to where readers can purchase these items.

Raspberry Pi 4 Fan Control Software Setup:
Update Your Raspberry Pi:
- Open a terminal or SSH into your Raspberry Pi.
- Run the following commands to ensure your system is up-to-date:
- sudo apt update
- sudo apt upgrade
Install rpi-fan:
- You can use a tool called rpi-fan to control your fan. To install it, run the following commands:
- sudo apt install rpi-fan
Enable the rpi-fan Service:
- sudo systemctl enable rpi-fan
Start the rpi-fan Service:
- sudo systemctl start rpi-fan
Check the Status of the rpi-fan Service:
- systemctl status rpi-fan
Customize Fan Speed (Optional):
- By default, rpi-fan will adjust the fan speed automatically based on the temperature of your Raspberry Pi. However, if you want to customize the fan speed settings, you can edit the configuration file:
- sudo nano /etc/rpi-fan.conf
Reboot
- sudo reboot

Raspberry Pi 4 Fan Control Hardware Setup:
Equipment Required:
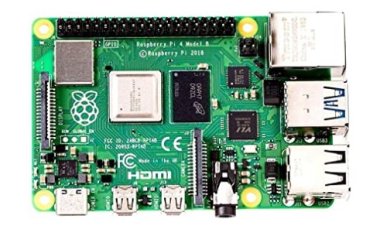
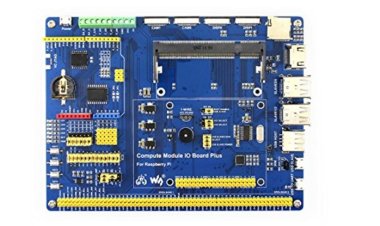
- Raspberry Pi 4 Model B
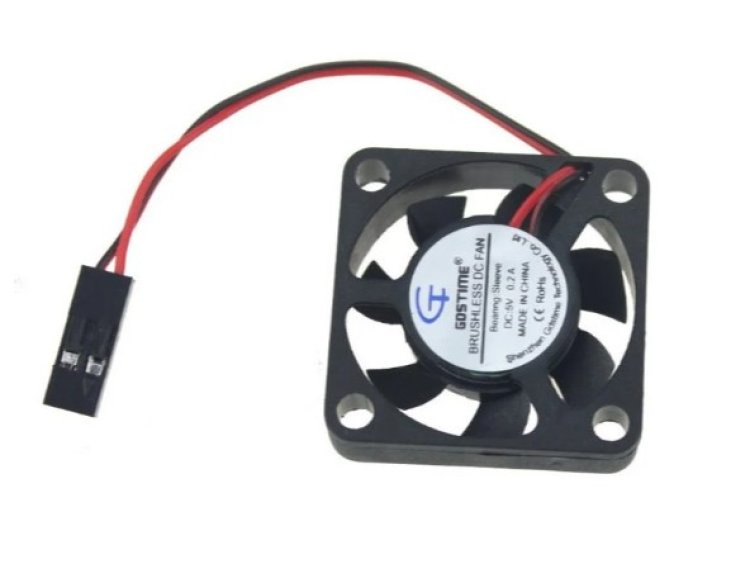
- Raspberry Pi-viable fan (despite everything a heatsink)
- Jumper wires (if essential)
- Welding iron and patch (if important)
Equipment Arrangement for Raspberry Pi 4 Fan:
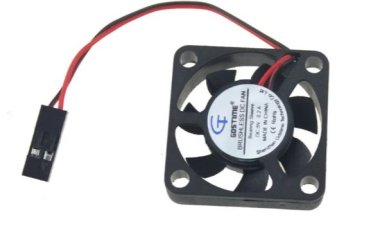
Select a Viable Fan:
Pick a fan intended for Raspberry Pi, normally with a 2-pin or 3-pin connector.
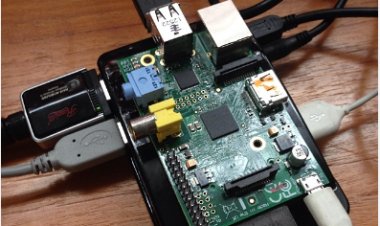
Mount and Interface the Fan:
Connect the fan to the Raspberry Pi's GPIO sticks straightforwardly or weld wires from the fan to the GPIO header.
Secure the Fan:
Guarantee the fan is safely fixed set up utilizing tape, glue, or screws, contingent upon the fan's plan.
Test the Fan:
Power on the Raspberry Pi to confirm that the fan is working accurately.
Does Raspberry Pi 4 need a cooling fan?
The Raspberry Pi 4 is indeed a powerful computer with an impressive array of features, such as 4K support, dual monitor capability, and USB-C power delivery. However, with increased power and performance comes the challenge of managing heat. This raises the question: Does the Raspberry Pi 4 require a cooling fan?
In short, yes, a cooling fan is advisable for the Raspberry Pi 4 in certain situations. While the Raspberry Pi Foundation has designed the board to be passively cooled with a heat sink, a cooling fan can be beneficial, especially if you intend to use your Raspberry Pi 4 for demanding tasks, such as gaming or video streaming. Using a cooling fan can help reduce the temperature and extend the lifespan of your device.
A cooling fan becomes even more crucial when overclocking the Raspberry Pi 4. Overclocking can push the board's temperature to levels that could potentially harm it in the long run. In such cases, a simple cooling fan is an effective way to safeguard your Raspberry Pi 4 from heat-related damage.
If you don't wish to purchase a separate cooling fan, there are alternative options to consider. You can explore Raspberry Pi 4 cases that come equipped with integrated cooling fans or opt for a USB-connected cooling fan that can be clipped onto the board. Regardless of your choice, ensure that the cooling solution is compatible with your Raspberry Pi 4 model.
It's important to note that while a cooling fan is not an absolute necessity for using the Raspberry Pi 4, it is highly recommended, particularly if you plan to overclock your board or engage in resource-intensive tasks. In such scenarios, a cooling fan is a valuable accessory that helps maintain the optimal temperature and prolong the life of your Raspberry Pi 4.
Can Raspberry Pi overheat?
A Raspberry Pi is a miniature computer with its own power supply, memory, and operating system. It can overheat, causing crashes, reboots, sluggish performance, and reduced functionality.
Raspberry Pi models have integrated heatsinks to dissipate heat and prevent issues like throttling, shutdowns, or boot failures. Temperature depends on ambient conditions and workload.
Factors causing overheating include faulty power adapters and poor ventilation. Adequate airflow and space around the Pi are crucial.
Overclocking the CPU or GPU can also lead to overheating and reduce the Pi's lifespan.
An overheating indicator is the red LED light activating, and in extreme cases, the Pi may shut down.
Prevent overheating with a quality case, heatsinks, fans, good ventilation, a proper power supply, and avoiding aggressive overclocking.