Pinout Unlock the Secrets of Raspberry Pi 3 Pinout Now!
Discover the intricate pinout configuration of Raspberry Pi 3 Pinout
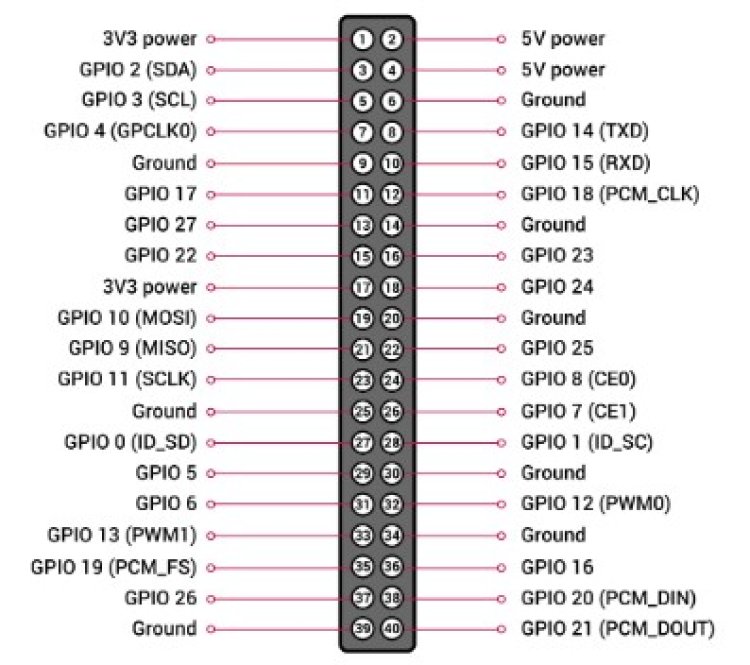
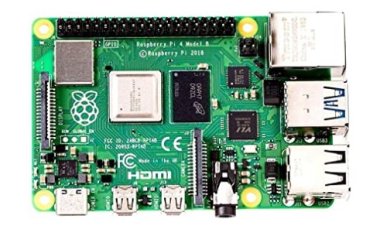
The Raspberry Pi 3 is a powerful and reasonably priced mini-computer that finds its way into various tasks, from learning programming to gaming and even robotics. One of its standout features is the abundance of general-purpose input/output (GPIO) pins, allowing users to interact physically with the board and its environment. In this post, we'll take a closer look at the Raspberry Pi 3 pinout diagram to understand the role of each pin.
The Raspberry Pi 3 pinout diagram is divided into four sections:
1. Main Power Pins
2. Expansion Ports
3. GPIO/Serial Pins:
4. Status/ID Pins:
Main Power Pins:
These two pins go by the name of power pins, labeled as 5V PWR and Ground. They're the go-to connection points for hooking up your power supply to the board. Ensuring they're wired correctly is crucial for the Pi to function smoothly.
The latest iteration of the single-board computer, the Raspberry Pi 3, brings forth a host of enhancements, such as 4K video streaming, swifter processors, and improved network connectivity. However, grasping the Raspberry Pi 3 pinout might pose a challenge for those new to the Raspberry Pi ecosystem.
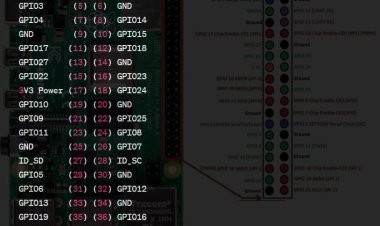
The Raspberry Pi 3 maintains the same 40-pin GPIO header as its predecessors but now introduces dedicated power pins, streamlining the power supply setup. Notably, some pins serve multiple functions, meaning they can handle various tasks and voltages depending on the system's setup.
Among the primary power pins, pin #1 and pin #8 take the spotlight. Pin #1, labeled +5V, delivers a 5V DC power supply, while pin #2, marked +3.3V, supplies a 3.3V DC power source. Ground (GND) on pin #3 serves as a vital safety precaution when dealing with electronics. Additional main power pins include pins #7, 3V3SB (3.3V system bus input), and #8, SYS_DCIN, receiving power from the board's power supply, typically 12V. Pin #6, tagged as 5V0, provides a standby 5V power source. Moreover, pin #7 doubles as a system bus input pin.
Understanding the main power pins of the Raspberry Pi 3 is crucial for users to meet the device's power requirements effectively. While powering the Raspberry Pi 3 via the micro USB connector is an option, it's advisable to do so under the guidance of an experienced professional.
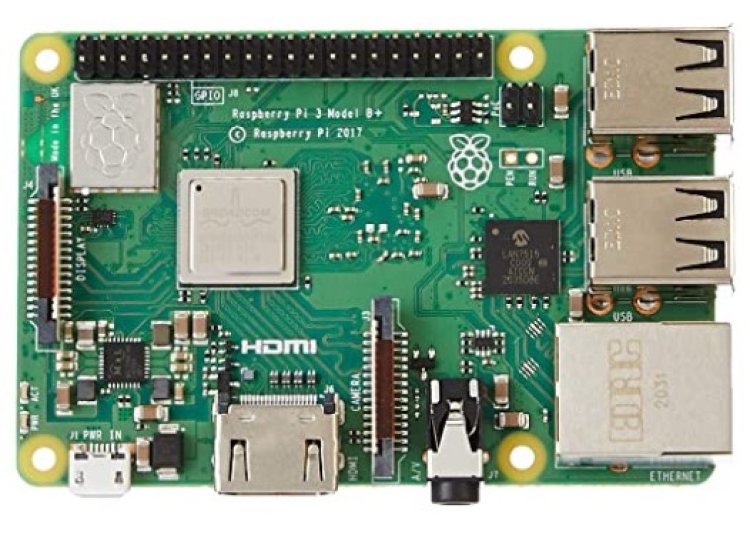
Expansion Ports:
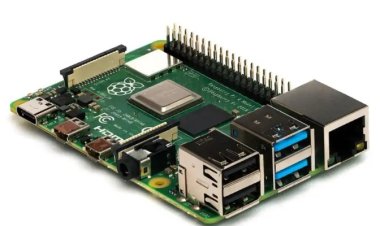
These are the ports which are used to attach extra peripherals such as a keyboard or mouse. There are three main expansion ports: USB, HDMI, and Ethernet.
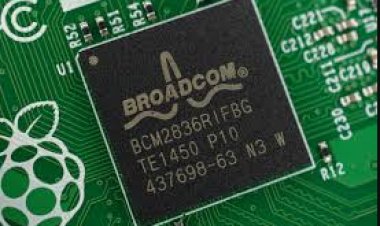
Released in February 2016, the Raspberry Pi 3 is a single-board computer that is inexpensive. It is a Raspberry Pi single-board computer from the third generation. It has a quad-core ARM Cortex-A53 processor and 1 GB of RAM on a Broadcom BCM2837 chip. Additionally, it offers built-in Wi-Fi, Bluetooth, Ethernet, and USB connections for communication. Additionally, it has the capacity to output several video streams at once.
Users of the Raspberry Pi 3 have access to a wide range of ports and extension possibilities, which offers a lot of possibility for expanding its functionalities. The types and functions of these ports range from audio/video output to I/O pins, power, and USB.
The Raspberry Pi 3 has three main expansion ports for connectivity: the GPIO (general purpose input/output) port, the I2C (inter-integrated circuit) port, and the SPI (serial peripheral interface) port. Each of these ports supports connecting additional hardware to the Raspberry Pi, such as sensors, motors, sound cards, and more.
The GPIO port is the main port of the Raspberry Pi and is used for connecting additional parts such as LEDs, resistors, buttons, and switches. It has 40 pins, including two power pins, and provides 3.3V and 5V voltage outputs from the onboard processor. It also supports various serial communication protocols (I2C, UART, SPI) and various digital I/O (input/output) formats.
The I2C port allows connection of accessories that require serial connection, such as temperature and humidity sensors, accelerometers, and gyroscopes. It has two pins for data transmission and two power pins, for a total of four pins. It supports I2C communication and runs at 100KHz and 400KHz.
The SPI port is similar to the I2C port but runs much faster at up to 16MHz. It also has four pins for transmitting and receiving data as well as two power pins. It can be used to connect external components such as digital-to-analog converters, voltage regulators, sound and video drivers, and more.
The Raspberry Pi 3 also has two USB 2.0 ports for connecting external devices, such as keyboards, mice, and external storage devices. These ports are capable of providing up to 500mA of current. Additionally, the board has a standard 3.5mm audio/video jack that can be used to connect speakers, headphones, or HDMI monitors.
GPIO/Serial Pins:
The GPIO/Serial pins are the pins that allow physical interaction with the board. They are divided into two subcategories: GPIO and Serial. GPIO pins allow for digital signals to be sent and received from the board. Whereas the serial pins allow communication between the board and another device or system over a serial cable.
Status/ID Pins:
The last set of pins is the status/ID pins. These pins provide basic information about the board, such as its ID and voltage levels, and can be used to help troubleshoot and identify the board if any issues arise.